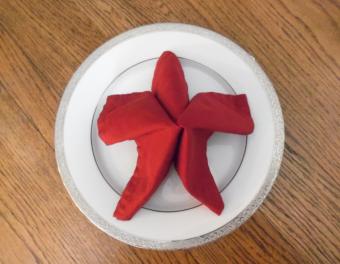
An origami bird base is a traditional base that is a good skill to master for beginners to origami.
Base Figures
Origami bases are a set of simple, abstract folded figures. While the paper may not look like anything after being folded into a base, it is simply the starting point for making origami things. Learning traditional bases, like the preliminary, frog and bird, makes it easier to complete other origami projects.
The origami bird base is used in conjunction with other origami animal instructions to create a variety of winged creatures. The crane is perhaps the most well known, but bluebirds and origami dragons are other popular figures that can be made using the bird base. Just because it is called the bird base, it does not have to create origami animals, either. Create decorative figures and gifts using the bird base as a starting point.
Origami Bird Base Instructions
The bird base begins with the preliminary base, sometimes called a square base. After making the preliminary base, follow these steps to create the bird base:

- Position the preliminary base so the opening is at the bottom.
- Fold both the left and right sides of the top paper layer into the vertical line.
- Fold the top of the base down, creasing firmly.
- Open all three folds to the original preliminary base.
- Use your index finger to hold down the bottom layers of the base at the bottom point.
- Lift the top layer with the thumb and index finger of your other hand, pulling up and slightly back until the paper almost resembles an open beak.
- Slowly lower the top of the paper down, flattening the sides of the "beak" shape inward using the creases made in Step 2. You should now have a diamond shape on the top layer of your paper.
- Crease firmly.
- Turn the paper over.
- Follow Steps 2 through 8 on the reverse side of the paper.
The process used in Step 5 through Step 7 makes what is known as a petal fold. The petal fold is one of the easier folds in origami. Begin with crease lines that form a triangle shape on the top layer of a folded paper. Push the top layer of the bottom point up, flattening as you do so. The two sides should then meet in the middle when completed successfully. Watch some origami videos that animate the petal fold process if you need further explanation.
Bird Base Tips
To use the bird base at its best, follow these tips:
- Learn how to make a preliminary base, because that is how every bird base begins.
- Make sure the top and bottom of each layer of the preliminary base is lined up perfectly, or your end result will be a bird base whose front and back is not aligned.
- Practice the petal fold several times until you can do it smoothly. It requires reversing the side folds on the very top part of the diamond shape formed by the petal fold. Reversing folds can get tricky and inexperienced folders may end up with rumpled paper.
- Before making the final crease, double check that the paper edges are perfectly aligned and meet in the middle of the paper.
Speed through your origami projects by creating several bird bases to keep on hand. Use a variety of paper colors and sizes so you can just grab the one you need for a new project without having to make an origami bird base every time. For realistic animal representations, choose natural colors like tan, white, brown, beige and ivory. More fanciful figures, like origami dragons, can use deep purples or shocking red papers. In fact, you can even use patterned papers to create cranes and other birds.


