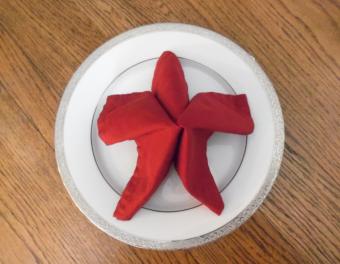
Making Origami Thank You Cards

Sending out origami thank you cards is a great way to show your appreciation for the special people in your life. This simple card design is easy enough for a novice paper folder to create, but the finished project can be decorated to suit almost any taste.
Step 1

To begin, you will need an 8 ½ x 11 piece of paper. Fold the left top edge to the right of the paper.
Step 2

Fold the paper in half.
Step 3

Fold down the top corner.
Step 4

Fold the lower corner of the triangle over.
Step 5

Fold the loose corner of the triangle inward. Fold over again, then fold over again once more.
Sign up for our newsletter featuring all the latest stories and products we love.
Step 6

Unfold the paper completely. Fan fold the creases made in the previous step. Alternate mountain and valley folds, beginning with a mountain fold on the longest crease. (This means the first fold should be with the paper back and away from the card.)
Step 7

Refold Steps 1-3, then use a bit of glue or tape to hold down the folded fan embellishment. Use stickers, rub-ons, rubber stamps, or other embellishments to finish decorating your origami thank you card.
Folded flowers are another lovely choice for making handmade origami thank you cards. Learn how to make a flower card by reviewing the LoveToKnow slideshow Origami Flowers for Cards.


