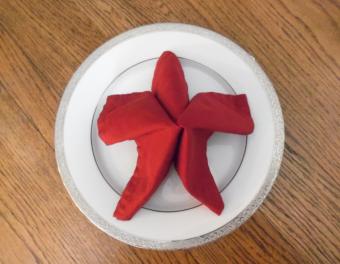
Petal fold origami is a specific folding technique that is used in a variety of different origami projects. It's one of several techniques that origami artists need to master in order to build their unique creations.
Petal Fold Origami Uses
The petal fold is an intermediate fold that will take one to two minutes to complete, depending on your skill level. This fold makes the base for a variety of different origami projects. The petal fold is frequently used in making the following projects:
- Cranes
- Frogs
- Irises
It's a very common fold and once you master it you'll be able to complete your origami designs more efficiently.
Creating a Petal Fold Base
Before you start using the petal fold in your origami projects, you should take some time practicing the petal fold. Start with a bigger piece of paper so you can clearly see the folds.
Begin with a kite fold using the following steps:
- Start by folding the square paper into a triangle. Crease well and then unfold.
- Arrange the paper so that the fold is positioned vertically.
- Fold one of the side corners into the middle fold and crease well.
- Fold the other corner into the middle fold and crease well.
After creating the base, continue by forming the actual petal fold.
Creating the Petal Fold
Once you have a base to use for the petal fold, you can start creating the fold itself.
- Position the kite fold so that the flaps are pointed away from you and the larger portion of the kite is pointed toward you.
- Take the left side corner and fold it into the middle crease. Crease well and leave folded.
- Take the right side corner and fold into the middle crease. Crease well and leave folded.
- At this point, you'll have a diamond shape. Unfold the sides to recreate the kite shape.
- Fold the kite in half, taking the top portion down to meet the bottom and crease well.
- Fold the sides of the top portion in toward the center fold and crease.
- Crease the top portion outwards, past the original folds that you made.
- You'll have a diamond shape again. Unfold the diamond so that it lays flat and then flip over the diamond.
If you need more instructions on creating a petal fold, view a petal fold origami instructional video.
Petal Fold Variations
The origami instructions to the petal fold that appear above will occur in about 50 percent of origami designs that use the petal fold. For the other half of origami petal fold designs, you'll use a petal fold variation.
This variation is used in the crane design and other intricate origami designs.
- Start by folding the sides in on the diamond shape in your design. Fold in the left and right sides and crease well.
- Lift the end of the diamond where you have just made your creases. As you are lifting, reverse the creases that you just made on the sides.
- Flatten down the sides and crease the new point made by opening the end of the diamond.
For video instructions, view alternate petal fold videos.
Petal Fold Tips
The exact nature of your petal fold will be determined by the project your completing. In some cases, you'll be using the first type and in others you'll be using the alternate version.
- Be sure to practice on a larger piece of paper to help you understand how the petal fold works.
- Be patient with the petal fold. It's an intermediate fold that can be tough to master at first.
- Make sure to crease thoroughly so you can clearly see where to make your folds in the next steps.
Petal fold origami doesn't have to be difficult if you follow these tips. Just be patient and you'll master this intricate fold.


