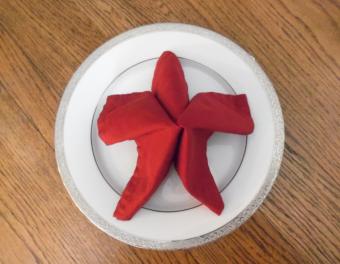
Making a Simple Origami Lily

Learning how to make an origami lily to put in a flower bouquet or display on your end table is not difficult. Double-sided paper works best for this project, as getting the creases exact can be difficult. However, you can use brightly colored papers for a pretty result, too.
Step 1

Begin with a preliminary base, open end pointing up.
Step 2

Squash fold the left corner across the figure.
Step 3

Fold the top two flaps inward to the center fold line, crease and unfold.
Step 4

Fold the bottom of the figure to the top, crease and unfold.
Step 5

Using the crease lines from the previous two steps, make a petal fold.
Follow Steps 2 through 5 on each corner of the figure, turning as necessary.
Step 6

Fold the bottom of the petal fold up on all four sides.
Step 7

Rotate so a side without a petal fold is on top. Fold the left and right bottom sides into the vertical crease line. Repeat on all similar sides.
Sign up for our newsletter featuring all the latest stories and products we love.
Step 8

Use a pencil to curl down the top of each side.
Lovely Lily

After learning how to make an origami lily, you may want to add a stem in order to create an origami flower bouquet. If you do not use a stem, you may need to twist the bottom slightly to hold the folds in place.
Decorate your home with more origami projects, like origami photo frames and origami hearts.


