Make Simple Tissue Paper Flowers

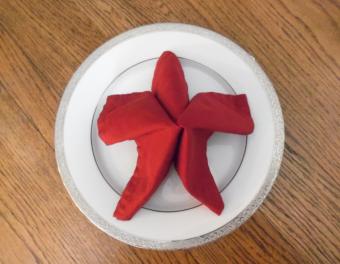
Learning how to make simple tissue paper origami flowers makes it easy to decorate for a birthday party, anniversary celebration, or other special occasion. While not exactly what one would think of as traditional origami, these pretty puffy flowers look great displayed in a vase, hung from the ceiling, tied to packages, or wrapped around napkins and place cards.
Step 1

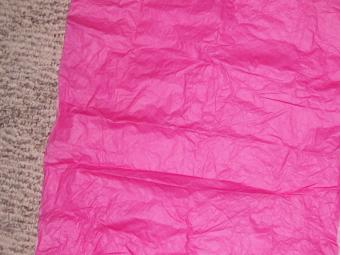
To begin, select the tissue paper you wish to use. Two or three colors of coordinating paper works best, preferably in pinks, reds, yellow, or some other color you'd expect to see in a real flower. Use three to six sheets of paper, depending upon how large you want your flower to be.
Step 2

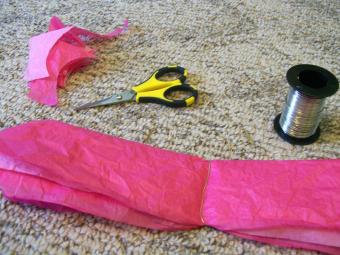
Accordion fold the stack of paper.
Step 3

Tie the middle of the stack with craft or floral wire. Use a sharp pair of scissors to carefully round the edges.
Step 4

Begin to pull each sheet of tissue paper up towards the middle of the flower.
Sign up for our newsletter featuring all the latest stories and products we love.
Step 5

As you keep pulling, your flower will develop a puffier and more realistic appearance. If you want to add extra detail, try coloring the edges of some of the layers with a fine tipped marker.
After you've learned how to make simple tissue paper origami flowers, see the LoveToKnow Origami slideshow on How to Make an Easy Origami Lily.


